When buying a scooter, it’s important you choose one that fits your height. If you buy a scooter that’s too tall, you’ll have to pull out some shorter rider tricks to how to handle stop lights or walking the scooter.
If you can’t place both of your feet on the ground when stopped, it’s a sign that your seat is probably too tall for you.
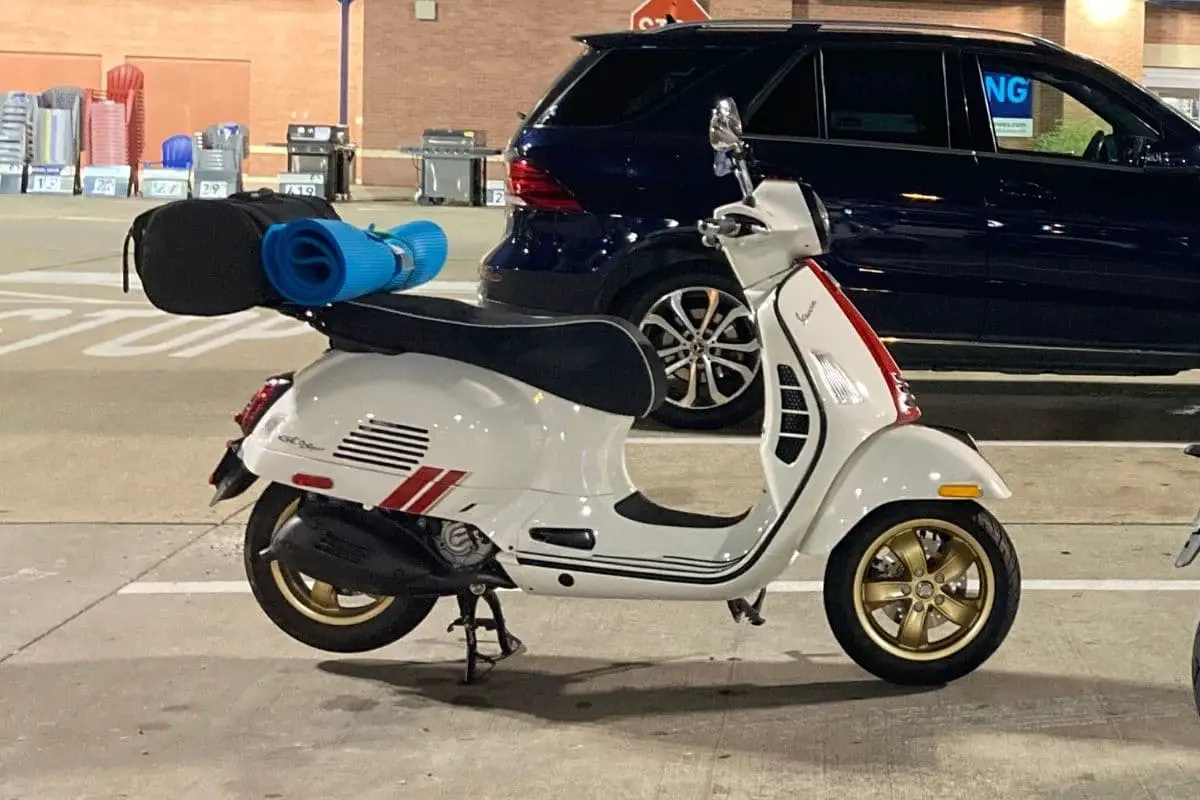
Modern Vespa models like the Primavera, Sprint and GTS have a seat height of 31 inches which is also the average height of all motor scooters.
In this article, we’ll be talking about Vespa seat heights and more. We’ll share with you some of the ways you can lower your Vespa’s seat height, and we’ll be going over some other topics related to riding a Vespa comfortably as well.
Key Takeaways
Vespa seats are about as high as other motor scooters at 31″ high, but you can make some adjustments.
On the cheap side, you can shave your seat if you’re comfortable with the DIY solution or wear different shoes.
If you’re ok to spend some money, you can pay to have the seat shaved by an upholstery shop, replace the shock absorber bracket, or the entire seat to reduce the height.
Table of Contents
Vespa Model Seat Heights
If you’re looking for a Vespa for short riders or one for taller riders, it is a bit of a fools errand.
Vespa Sprint, Primavera and GTS models all have a seat height of 31 inches.
While their seat heights are the same, the overall width of the scooters will have a small variation. However, the width of the seat plays into how tall a scooter feels. The wider the seat, the taller a Vespa scooter will feel.
The Primavera and Sprint are on what is called a small frame and has a narrower seat and weighs less than the larger frame Vespa GTS, making them more approachable to shorter riders.
Vespa GTS 300 models have a large frame with a slightly wider seat which will feel much taller.
How to Lower Your Vespa Seat Height
Unfortunately, Vespas don’t actually come from the factory with adjustable seat heights. If you buy a Vespa, the seat height you get is what you’re stuck with.
That being said, there are some ways you can alter your Vespa’s seat height, although these ways involve modifying the scooter itself. It is possible to perform these procedures yourself, although if you don’t have a lot of experience with this sort of work, we’d recommend that you take your scooter to a shop to get this work done.
With that being said, here are two ways you can lower your Vespa’s seat height:
Shave the Seat
If you have thoughts of a razor in hand in front of your bathroom mirror, you’re off track.
Shaving the seat is a method of reducing the size of your seat that involves removing some of the foam from your Vespa’s seat to adjust the height.
The advantage of this method is that it’s fairly easy and inexpensive to do; the disadvantage, however, is that with less padding, your seat will obviously be less comfortable.
Plus, shaving the seat means changing the shape of the seat profile. If you only need to adjust your Vespa’s seat height by a small amount, however, then it probably makes more sense to try the seat shaving method. Here’s how to go about doing this:
- Remove the seat from its base so that you’re able to remove the fabric seat cover. It’s likely that the cover is stapled in place, so be careful when removing the staples to prevent the seat cover from getting damaged.
- Once the seat is removed, you can measure it to determine how much foam you want to shave off. Use a marker to indicate where you’ll be cutting. It’s a good idea to be a little conservative with your estimates; you can always shave off more foam if the seat is still too high, but you can’t reattach the foam if the seat is too low.
- Once you’ve marked the parts of the seat you want to shave off, you can start the shaving. As for what you can use to remove the excess foam; you have a few options; a sharp knife or a hacksaw can do the trick, or you can even use a belt sander if you have one.
- When you’ve removed all the foam you want gone, you can reassemble the seat. Use an upholstery stapler and staple the fabric cover back onto the seat, and then reinstall the seat on your scooter.
You can find a resource with photos on how to do this here at motorcyclist.com.
**** But be careful here ****
The seat on my Vespa would not appear to ‘staple’ back together. I talk about replacing the whole seat a bit further down in the article, but I’d rather not have you need to replace your seat because you didn’t account for the put together part!
Install an Aftermarket Shock Absorber Bracket
If you’re ok with doing a little more work, however, you can try installing an aftermarket shock absorber bracket on your scooter. While this is more complicated than just shaving off some foam from the seat, the advantage of lowering your scooter this way is that it will remain a bit more comfortable.
Essentially, this aftermarket bracket allows the shock absorber to attach to a lower point on the scooter than the stock bracket does. Here’s how to remove the original bracket from your Vespa and install a new one:
- Place something under the center of your scooter to keep it elevated and stable. If you have a jack, this is ideal, but if not you can use something like a stack of 2x4s or a cinder block (just take care not to scratch your scooter’s frame when doing so).
- Undo all of the bolts that hold the original bracket in place and secure the original shock absorber to the bracket, and remove the bracket from your scooter.
- Install the aftermarket bracket in the place where the original one was and bolt it in place, but don’t attach the shock absorber to the new bracket just yet. First, you need to adjust the shock absorber arm so that it can connect to the aftermarket bracket without having too much suspension travel.
- To access the top of the shock absorber, you’ll need to remove the panel covering it. This panel surround the area where the gas cap is, and should be held in place by four bolts. Remove the bolts and lift up the cover.
- Once the panel is off, you should see the bolt holding the shock absorber in place. Undo the bolt and remove the shock absorber.
- Now that the shock absorber is off, you’ll have to partially disassemble it in order to adjust it. Remove whatever nuts you need to in order to separate the spring from the shock arm.
- When the spring is off the shock arm, you can adjust the shock absorber to your liking. There should be an adjuster at the base of the shock that you can turn to adjust the suspension travel. If you’re lowering your shocks, you should adjust them so that they have a little less suspension travel than before.
- When that’s done, you can reassemble your shock absorber. Make sure you assemble all of the components in the right order.
- Now, pretty much all that’s left to do is reattach the shock absorber to your scooter and connect it to the aftermarket bracket. If you’ve done everything correctly, your seat should now be about an inch lower than it was before, which may not seem like much in theory but can make all the difference in practice.
I’m a huge fan of Robot at Vespa Motorsport, and he’s got a great video on this here.
Buy a Low Profile Seat Replacement
This is a more expensive option, but you can also buy a replacement seat altogether to shave off some additional height.
Scooter Works has one here, and Scooter West has one here. Just make sure whatever you choose fits YOUR Vespa. Both are reputable scooter parts & accessories stores I’ve personally used for scooter shopping.
Other Vespa Comfort Tips
We’ve gone over at length some of the things you can do to lower your Vespa’s ride height if it’s too tall for you, but now let’s take a second to go over some of the other things you can do to help make riding your Vespa a little easier and more comfortable.
New riders in particular find themselves with a sore bottom after their first long ride – even on Vespa’s premium seats!
If you find your Vespa is a little too tall for you when you’re riding it, one thing you could do is get yourself some platform shoes just for riding to make yourself more comfortable with the Vespa seat height when you’re at a stop.
Ok, Ok. You could just wear something with a bit more substance even if you don’t want to go full-on platform shoes.
If you’re not too keen on cutting up your seat’s foam or messing around with your suspension components, thinking through your shoe options is likely to be a quick win.
Before I go on to a purchase option, just know that you may get used to riding to some degree, and that pain (hot spots) will not be as bad.
If you rode a bike for any period as a kid or an adult, you likely know the feeling I’m talking about here! It does ease up if you build up the time on your seat.
Seat Pads
Another thing you can try is using an AirHawk seat pad. If you’re not familiar with them, AirHawk is a company that makes inflatable seat pads for all manner of seats, including motorcycles and scooters but also wheelchairs and office chairs.
Click here for the latest price of the AirHawk on Amazon.
It doesn’t look like much, but it has air-filled cells that are designed to not only keep your rear end comfortable but also provide it with a good amount of airflow.

You can inflate or deflate the AirHawk easily to provide the right amount of cushioning for your needs.